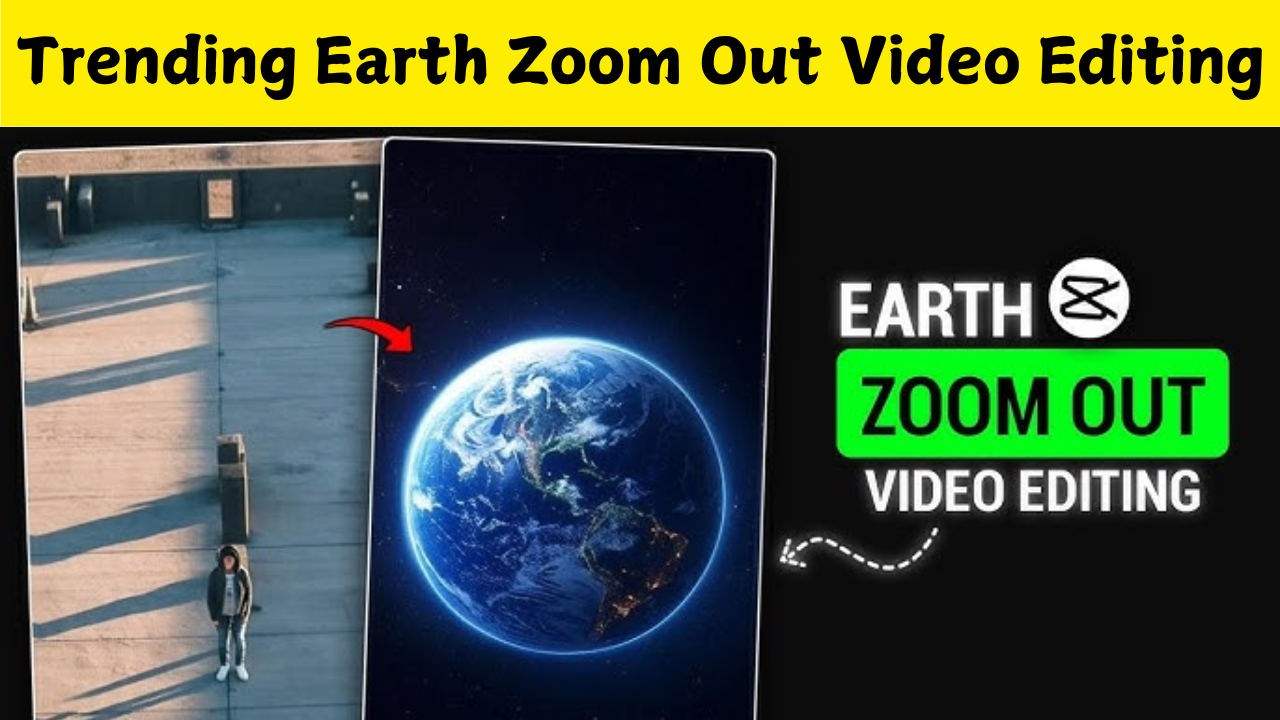
What Is Zoom to Earth Video Editing?
Zoom to Earth video editing is a cinematic technique where the camera effect simulates zooming in from space directly to a specific location on Earth. You’ve probably seen this in movies, documentaries, or YouTube intros where the view starts from space, moves through the atmosphere, and then zooms into a country, city, or even a building. It creates a dramatic and professional look that grabs attention instantly.
Why Use Zoom to Earth Effects?
This effect adds a powerful opening to your video content. It sets the tone, gives location context, and instantly boosts your production quality. Whether you’re making travel vlogs, educational content, gaming intros, or cinematic projects, a zoom-to-Earth transition instantly hooks the viewer. It’s also great for making map-based storytelling visually exciting.
Apps and Software to Create This Effect
Several tools make it easy to create Zoom to Earth effects. If you’re a beginner, you can try mobile apps like Kinemaster, CapCut, or Alight Motion. These support importing overlays and keyframes. For professionals, Adobe After Effects, Final Cut Pro, or DaVinci Resolve give you more control with 3D mapping, transitions, and camera motion. Google Earth Studio is a free browser-based tool that works perfectly for generating Earth zoom animations.
Using Google Earth Studio for Free Earth Zoom Animations
Google Earth Studio is one of the most popular tools for creating Earth zooms. It’s browser-based and free for personal use. You can select a location, set keyframes, choose your camera path, and export the animation. The platform also supports 3D views of cities, which adds realism. After exporting your video, you can import it into a video editor to blend with other scenes, texts, or sound effects.
Adding Transitions to Make the Zoom Smooth
To make the zoom look smooth and realistic, it’s important to plan your transitions. You can start with an outer space view, zoom into Earth using Google Earth animation, then add a custom drone shot, a map zoom, or a location screenshot. Blend these clips using crossfades, blur transitions, or zoom effects in your editor. The goal is to make everything look seamless as if you really zoomed in from the sky to the ground.
Best Practices for Professional Look
Keep your resolution high—preferably 1080p or 4K—for clear visuals. Use motion blur or easing for more natural movement. Match lighting and color tones when combining different video layers. If you’re using text or logos in the transition, make sure they’re not too distracting. Subtle background music or whoosh sound effects can elevate the experience further. Content creators use this effect in various ways. Travel YouTubers use it to highlight new destinations. Educators use it to show geography or global data. Gamers often use Earth zooms for intros to gameplay or locations. Filmmakers and short video editors add it as a dramatic opening or scene transition. Even brands use this technique in advertisements to show global reach or innovation.
Editing Tips for Mobile Users
If you’re using a mobile editor like CapCut or Alight Motion, first download or screen-record your Earth zoom clip. Import it into the timeline, then add transitions before and after the zoom. Use keyframes to zoom further or pan to the desired area. You can also layer other media like maps, arrows, or location pins to highlight your target. Export in high resolution to avoid pixelation.
Zoom to Earth with Drone Footage
To make your zoom-to-Earth more realistic, you can transition the Google Earth zoom into your own drone footage. Start with the Earth zoom, cut right before it reaches the ground, then fade into your drone shot from the same location. This makes it appear as if you zoomed straight from space into your actual location on Earth. It’s a powerful combination when done right.
Adding Voiceover and Background Music
Voiceovers work great with this effect, especially if you’re narrating a story or explaining something about the location. Use cinematic music or subtle ambient sounds in the background. Avoid overpowering the visual with too much audio unless it’s a dramatic reveal. Sync the music’s beat drop with the final zoom point for extra impact.
Export Settings for Social Media Platforms
When you finish editing, export your video in the right format for your platform. For YouTube or desktops, 16:9 is standard. For Instagram Reels or TikTok, use vertical 9:16 aspect ratio. Keep the bitrate high and frame rate consistent. Most editors allow exporting in MP4 or MOV, which work well across all platforms. Avoid low-quality Earth images or poorly synced transitions. Don’t zoom too fast or it’ll feel unrealistic. Make sure the final location is clear to viewers—otherwise, the zoom loses its purpose. Don’t overload the screen with too much text or stickers that take away from the cinematic impact.
Creating Earth Zoom Effects Without Google Earth
If you want to go full creative, you can build your own Earth zoom from images using layers in After Effects or Photoshop with animation. This is more time-consuming but gives you full control. Some mobile apps even offer prebuilt Earth zoom templates that you can customize with your own location and title. Zoom to Earth editing isn’t just a fancy trick—it’s a storytelling tool. It creates excitement, enhances production value, and brings a cinematic edge to your videos. Whether you’re a beginner or a pro, it’s now easier than ever to create this effect using free tools like Google Earth Studio or mobile video editors. Add your creativity, transitions, music, and message—and you’ve got a scene that’s unforgettable.


